Update an existing model using git
Changes made to the remote branch from which the model was imported into ModelOp Center will automatically sync with ModelOp Center. See Integrate with Git for more information.
Update an existing model using Jupyter
There are multiple ways to update an existing model using the Jupyter plugin.
Pre-requisites
After registering a model with ModelOp Center, it is possible to update the model when it is open in the Notebook. Registration can be done with the steps outlined in Registering a new model or Opening an existing model (see Register a Model and Opening an existing model in Jupyter).
Editing the source code
Once the model has been loaded from ModelOp Center, make the modifications to the source code as desired using standard Jupyter cell edit techniques.
When the changes are complete, click on the “Update current model in ModelOp Center“ icon from the ModelOp Center toolbar.

A prompt will ask confirm the changes made to cell contents before updating the model. This option copies back the source code of the selected cell into ModelOp Center.

Updating model metadata fields
From the toolbar, click on the “Edit current model” icon.

Please ensure have selected the notebook cell with an associated model, and the plugin will prompt with a screen that allows to change the following:
Edit the Model Information
Change Model Name
Change the model Description
Edit the model functions associated with the primary source code. Please refer to “Registering a new model” section of this guide or here for more details. Please note that in order to avoid versioning conflicts, make sure to save all code modifications as indicated in the step “Editing the source code” above before changing the model functions. This will prevent recently introduced function definitions in the code to be associated before the code itself is synced back to ModelOp Center.
This step also sends information of the underlying Notebook environment in which this is run (system details, python details and libraries loaded) to ModelOp Center
Adding attachments
From the toolbar, click on the “Add attachment for existing model” icon.

Please make sure the notebook cell with an associated model is selected, and the plugin will prompt you with a file browser and a screen to attach selected file to the model in the active cell.
Select the role for the asset to upload or leave blank to be automatically determined by ModelOp Center based on the file type.
Click the “Attach” button to upload the attachment.

Update an Existing Model Using the ModelOp Command Center
Pre-Requisites
To update a model using the ModelOp Command Center, you must:
Have an existing model, minimally in the form of a source code file (e.g. mymodel.py file).
Have registered the model with the ModelOp Center.
To update a model in ModelOp Command Center:
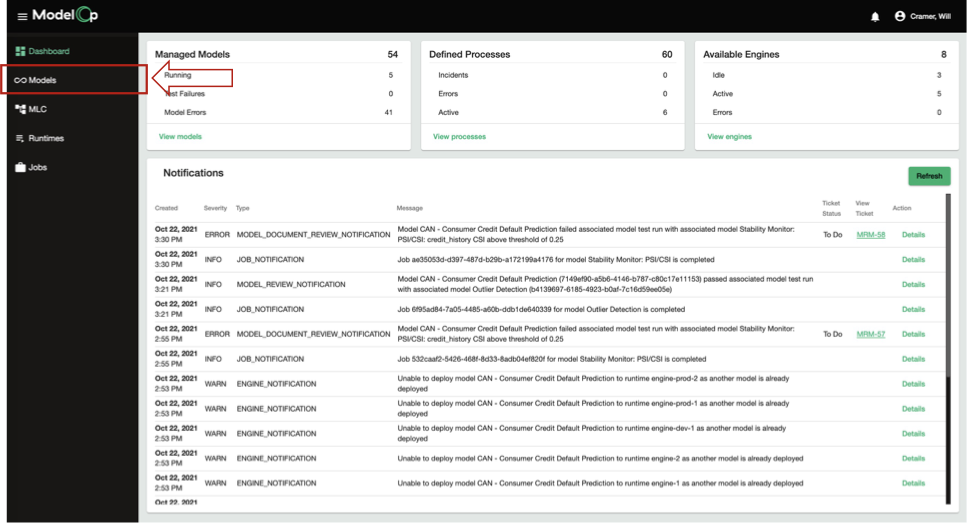
Navigate to the ModelOp Command Center.
In the left column, click Models.
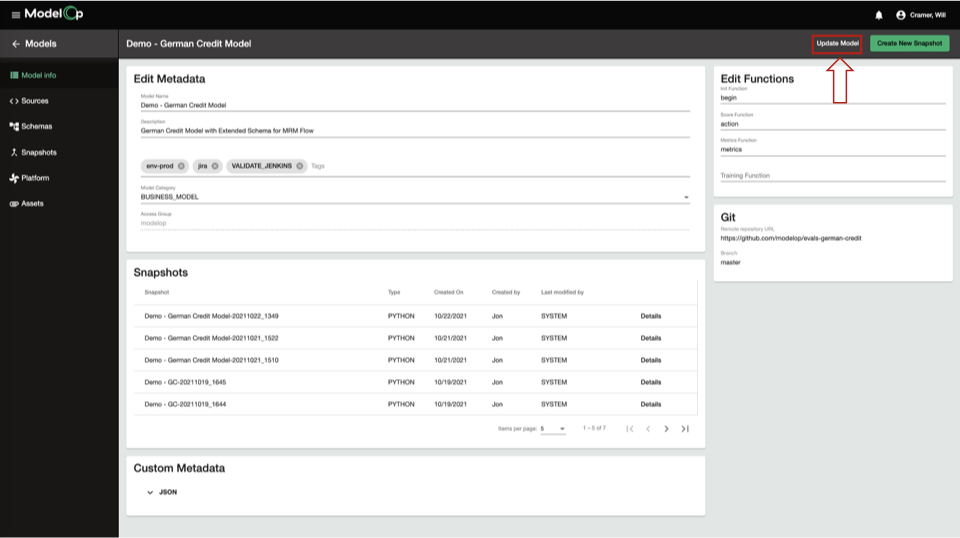
Select the model you want to modify from the list. This opens the Model Details page.
In the “Model Info” tab of the Model Details page, the user can:
In the “Edit Metadata” section:
Edit the Model Name
Edit the Model Description
Add a tag
In the “Edit Functions” section:
Update each of the functions
To save the changes, select the “Update Model” button in the top right:
In the “Sources” tab, the user can view the latest source code files.
In the “Schemas” tab, the user can view the latest input and/or output schema files.
In the “Attachments” tab, the user can add or delete attachments:
To delete an attachment:
Open the Attachments tab. The list of attachments associated with the registered model should appear.
Find the attachment that should be deleted.
Click the delete icon. The attachment will be removed from the registered model.
To add an attachment to an existing model:
Open the Attachments tab. The list of attachments associated with the registered model should appear.
In the top right, choose to add an attachment by choosing to “Upload File” (from local desktop), “Add by URL” (from an existing remote location), or “Add a SQL Asset”
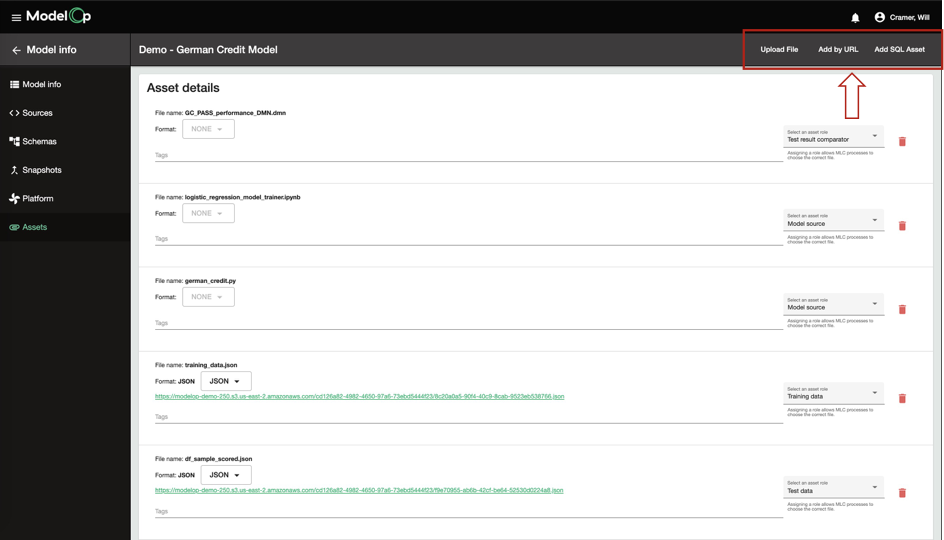
Follow the instructions in the popup box to add the attachment.
Refresh the page. The attachment should be added to the registered model
Next Article: Add Model-Specific Data Assets >