Update an existing model using git
Changes made to the remote branch from which the model was imported into ModelOp Center will automatically sync with ModelOp Center. See Integrate with Git for more information.
Update an existing model using Jupyter
| Include Page | ||||
|---|---|---|---|---|
|
Update an Existing Model Using the ModelOp Command Center
Pre-Requisites
To update a model using the ModelOp Command Center, you must:
Have an existing model, minimally in the form of a source code file (e.g. mymodel.py file).
Have registered the model with the ModelOp Center.
To update a model in ModelOp Command Center:
Navigate to the ModelOp Command Center.
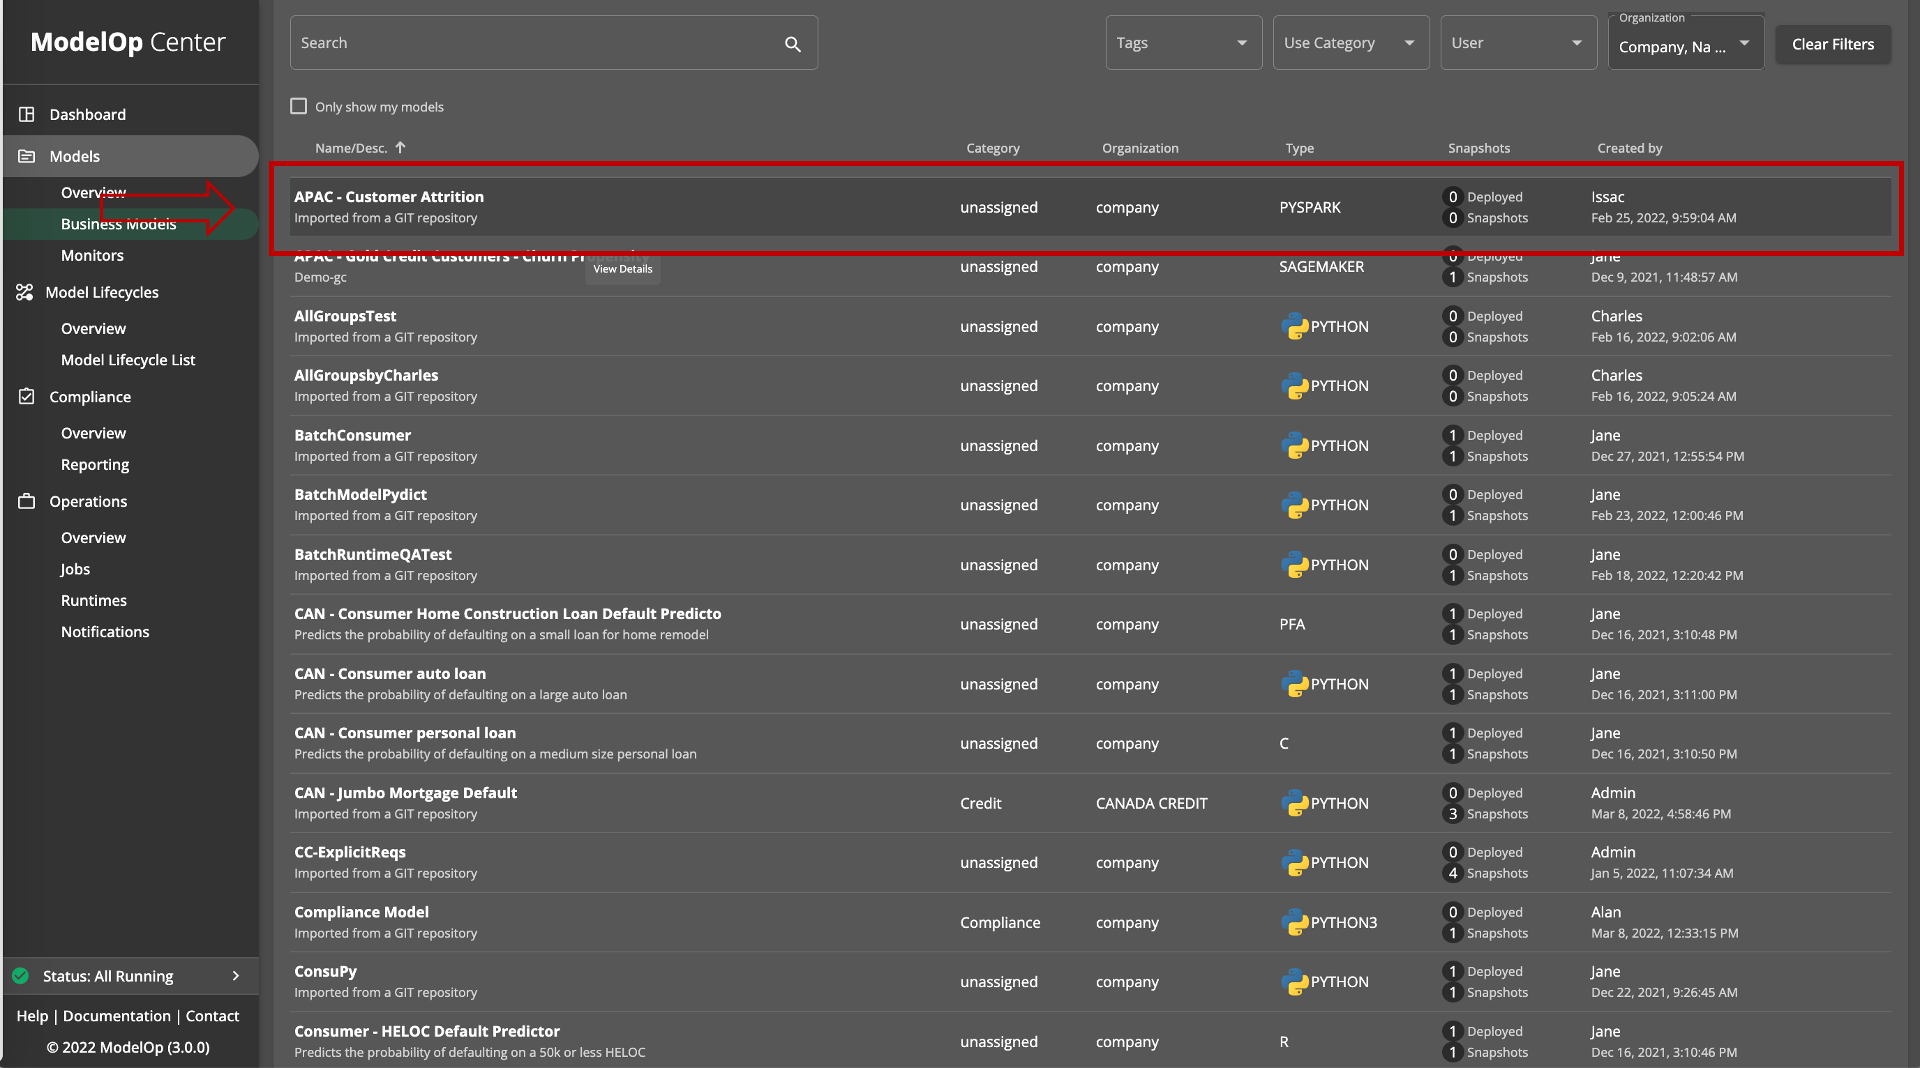
In the left column, click Models.
Select the model you want to modify from the list. This opens the Model Details page.
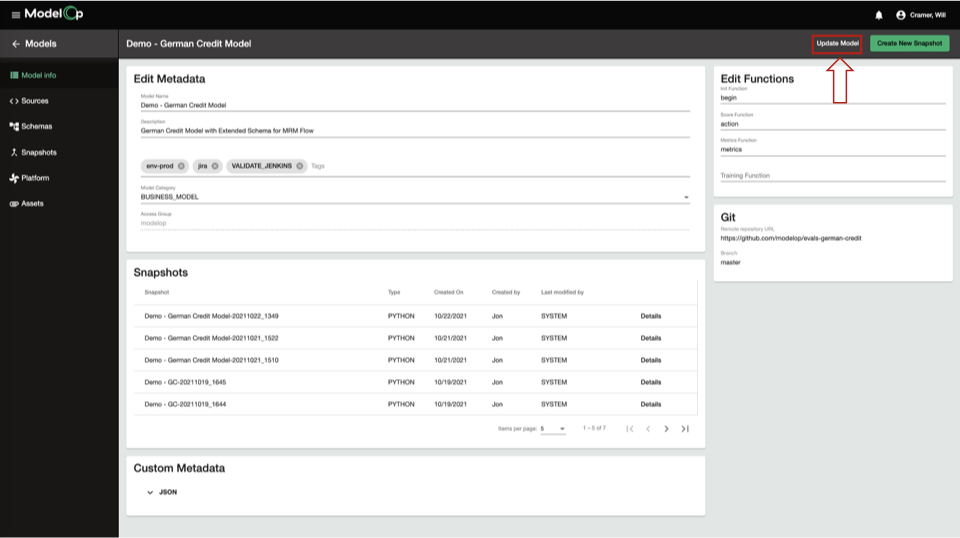
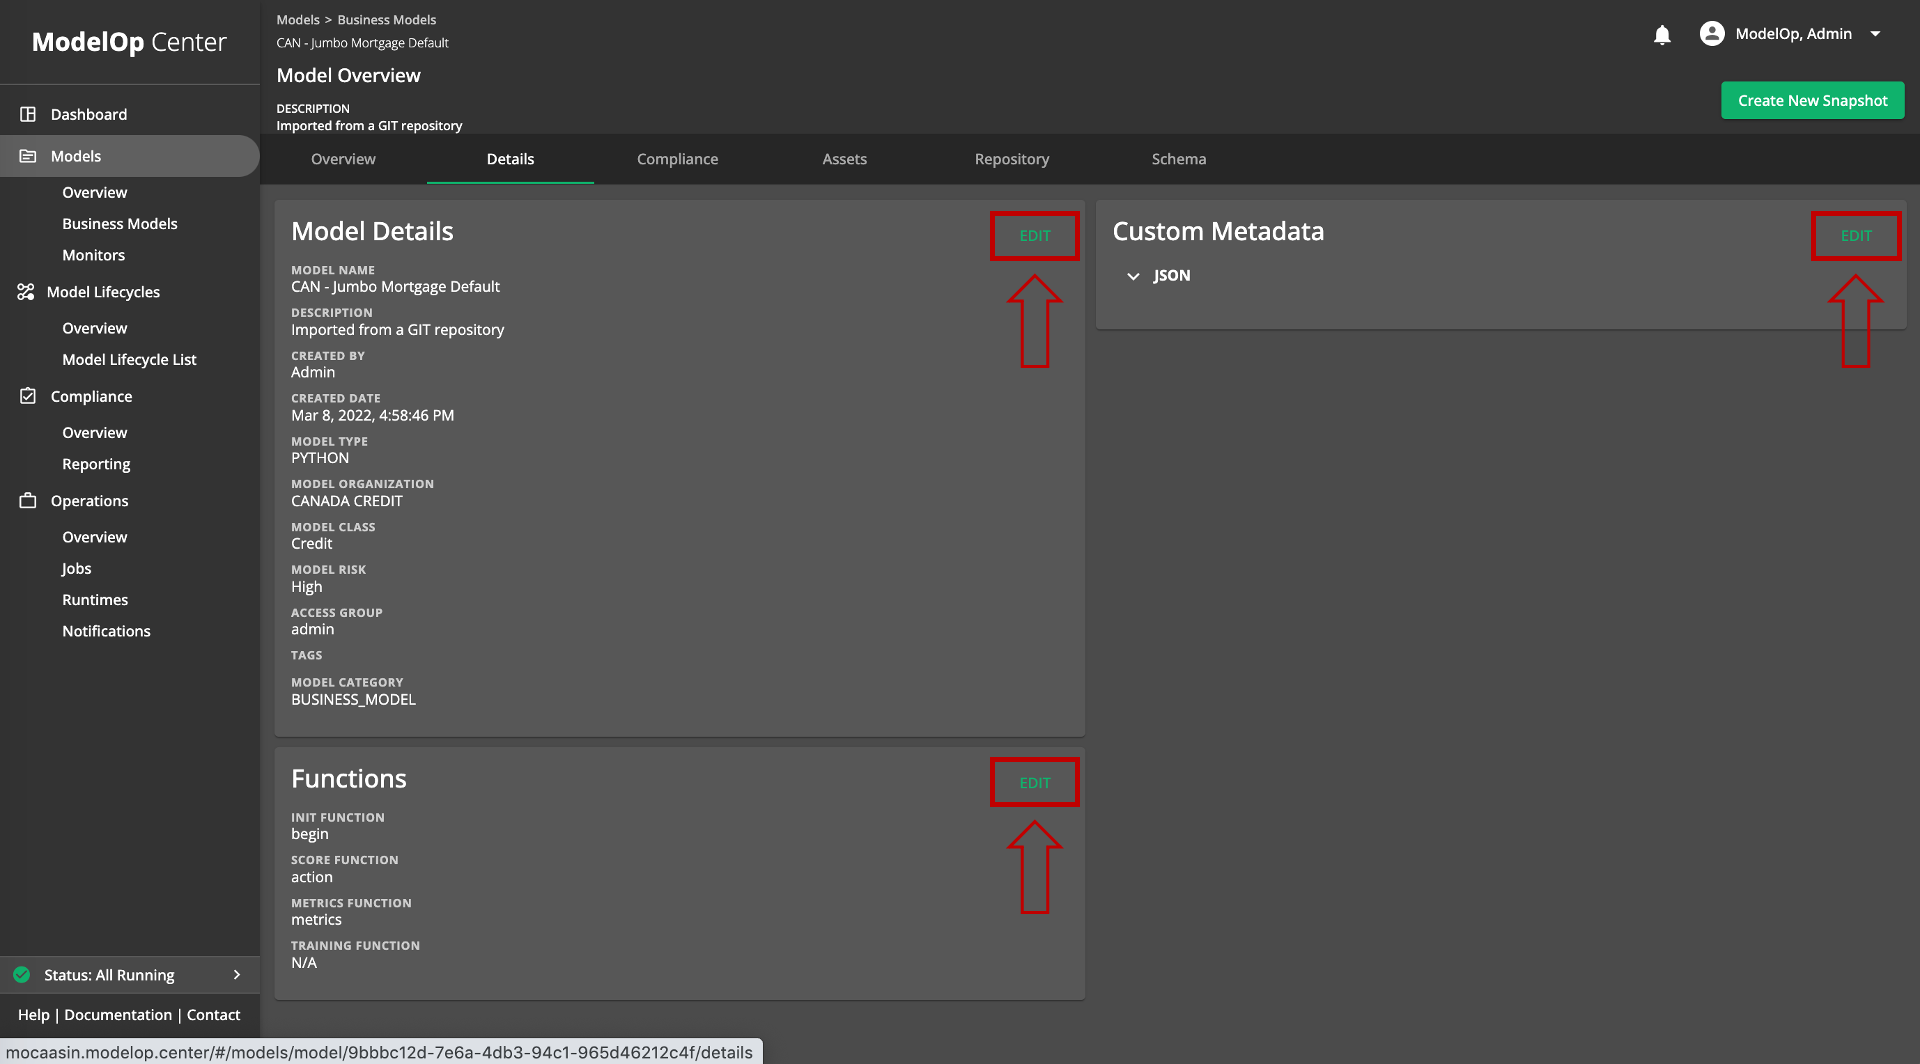
In the “Model Info” “Details” tab of the Model Details page, the user can :
In the “Edit Metadata” section:
Edit the Model Name
Edit the Model Description
Add a tag
In the “Edit Functions” section:
Update each of the functions
To save the changes, select the “Update Model” button in the top right:
In the “Sources” tab, the user can view the latest source code files.edit the Model Details, Metadata, or Functions that are used for initialization/training/scoring/metrics:
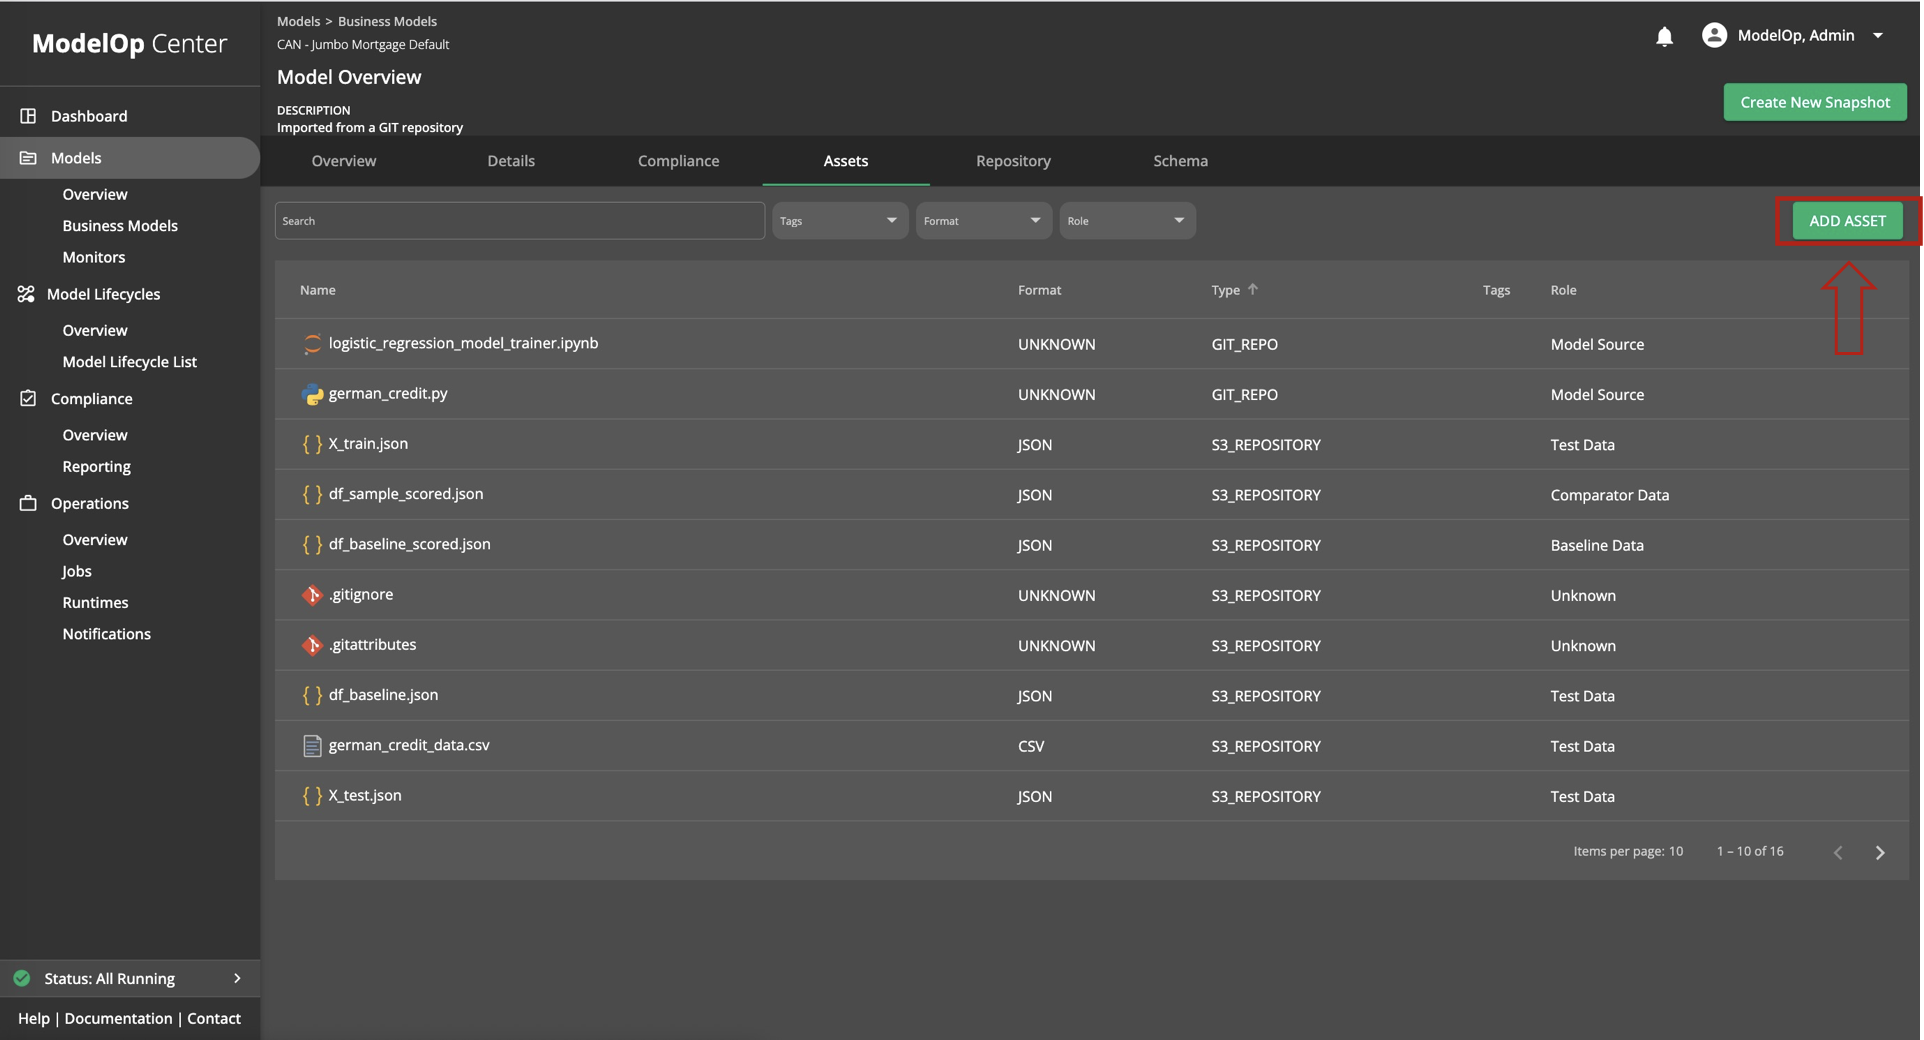
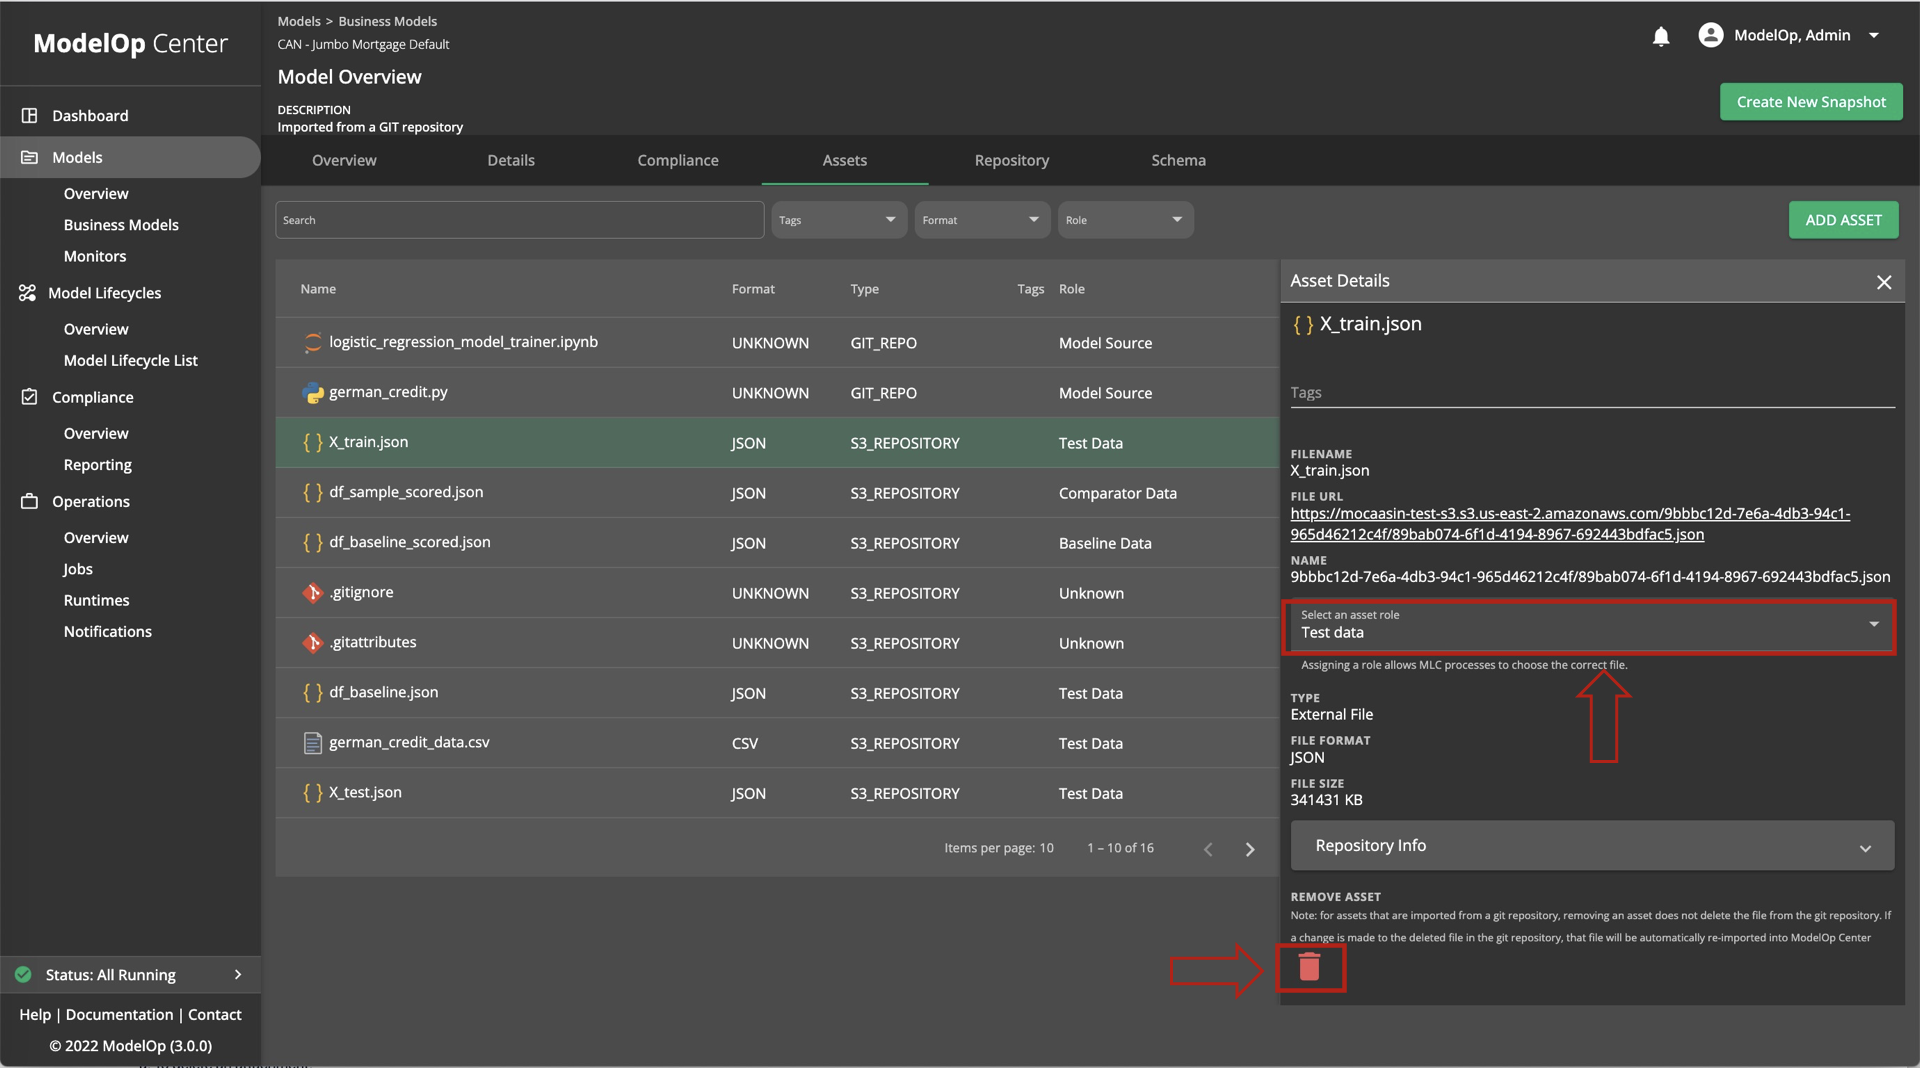
In the “Assets” tab, the user can:
Add additional Assets by clicking the “Add Assets” button:
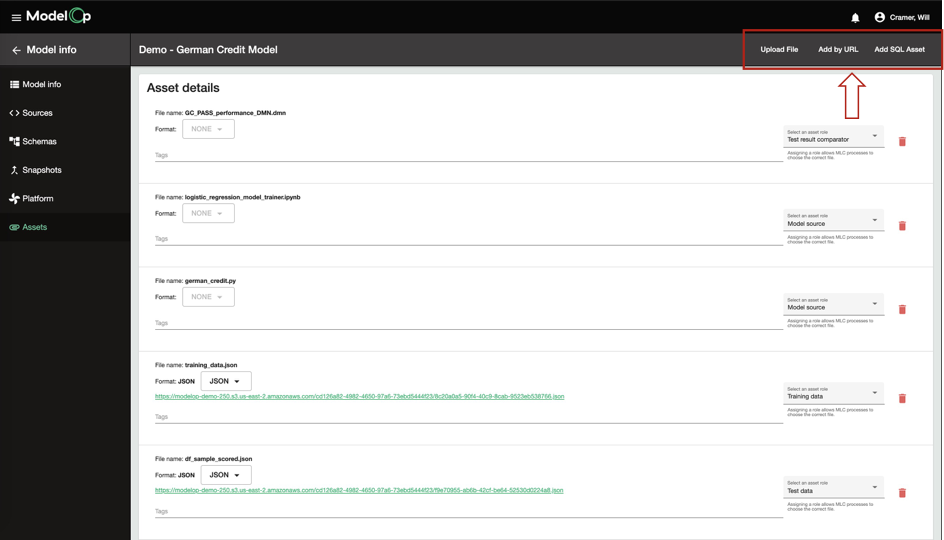
Modify existing assets by clicking on and individual asset. The asset details will appear in the side bar, allowing the user to edit the Asset Role or to Delete the asset, as desired:
In the “Schemas” tab, the user can view the latest input and/or output schema files.
In the “Attachments” tab, the user can add or delete attachments:
To delete an attachment:
Open the Attachments tab. The list of attachments associated with the registered model should appear.
Find the attachment that should be deleted.
Click the delete icon. The attachment will be removed from the registered model.
Open the Attachments tab. The list of attachments associated with the registered model should appear.
In the top right, choose to add an attachment by choosing to “Upload File” (from local desktop), “Add by URL” (from an existing remote location), or “Add a SQL Asset”
Follow the instructions in the popup box to add the attachment.
Refresh the page. The attachment should be added to the registered model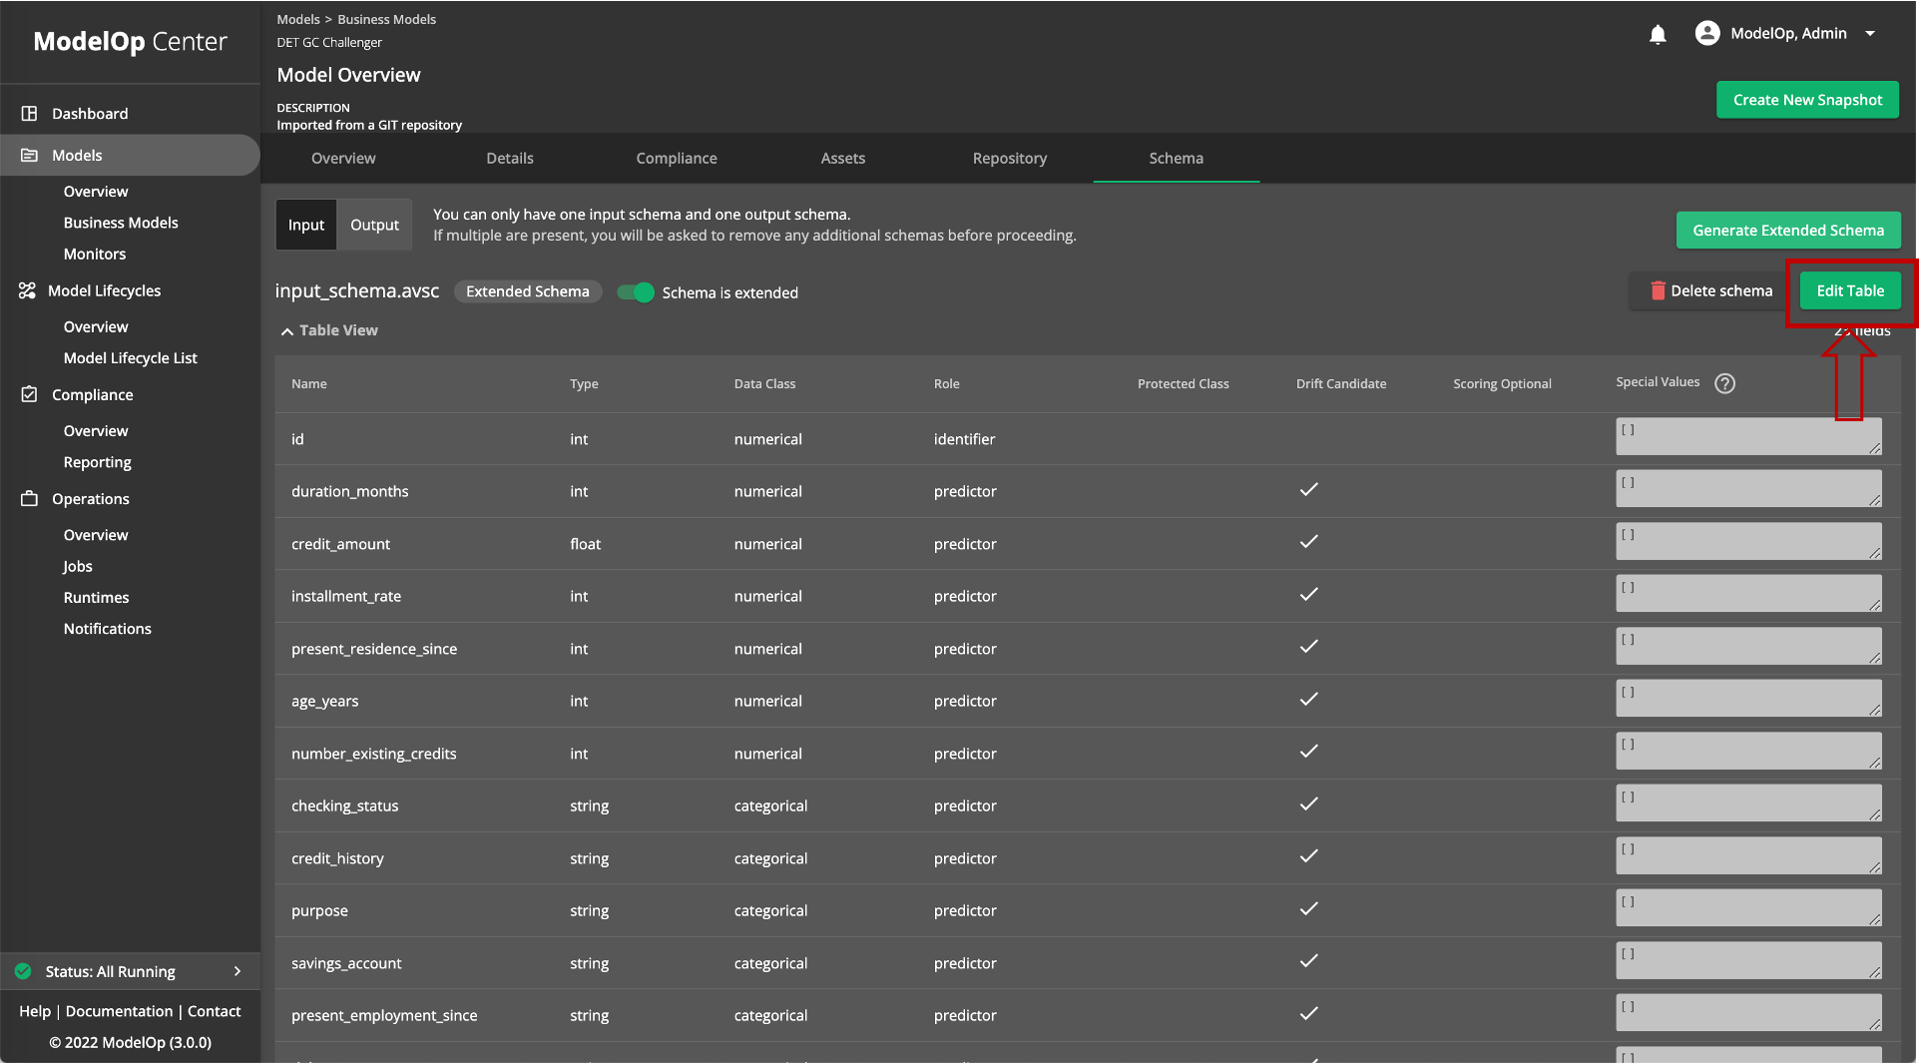
To add an attachment to an existing model:
To edit the Schema, see the Model Schemas page.
Next Article: Add Model-Specific Data Assets >