Introduction
ModelOp Center collects and persists detailed metadata about every model across the entire life cycle, from inception to production usage through continuous improvement in order to Govern the models. With all of that data, one challenge is to make the data visible and consumable in dashboards that can represent these key Model KPIs. Some of these KPIs include: What kinds of models are developed in your business? How many of those models are eventually delivering business value? What are the impacts of these models on your runtime environments?
ModelOp Center integrates with PowerBI Power BI in order to allow it to provide enterprise grade BI tools to design your own reports rather than rely on built-in static reports.
PowerBI Power BI Integration Setup
PowerBI Power BI provides connectivity to external data sources through Web Data Connectors, which ModelOp Center embeds to communicate with our services. Since ModelOp Center comes with this connector preinstalled, there is no need to add additional features into the Tableau installation.
Here are the steps to integrate with Tableau:
Select Web Data Connector from the “Connect to a server” interface.
Enter the web data connector URL to the ModelOp Center installation.
If security is enabled, the user is presented with a login screen. Enter the oauth2/SSO credentials:
After connecting through our Sprint Cloud Gateway services, select any item from the drop down menu and click “Get Model Test Data”.
Once connected, a series of tables that comes directly from ModelOp Center will be available to start building reports.
ModelOp Center will dynamically identify the schema of critical tracked complex data objects and will flatten them into simplified rows of data required by Tableau. This allows for two-way communication between Tableau an ModelOp Center. Parameters can be passed in from Tableau to manage queries and filtering of data and data can be refreshed in reports with minimal effort allowing for Tableau to represent live ModelOp Center data dashboards.
Connecting Tableau to Secure ModelOp Environments
ModelOp Center’s plugin for Tableau allows for integration with an enterprise’s oauth2 provider to provide the same authorization and access control that is provided in the ModelOp Center UI.
The following provides detailed steps of how Tableau connects to a secured ModelOp Center environment, via Oauth2 Integration:
#
Steps
1
Tableau sends a request to ModelOp
2
Request returns with 403 , which means authentication is required.
3
Tableau asks for Username and password, and submits a new request
4
Token request arrives to Ping Federate in order to be validated
5
Ping Federate validates user details with Ping Directory
6
Ping Directory validates user details with AD/LDAP
7
Ping directory receives valid user confirmation
8
Ping Federate receives valid user confirmation
9
Ping Federate issues a token into the predefined redirect URL
10
Tableau reads and extracts the issued token
11
Tableau sends a new request including the issued token
12
Gateway asks Ping Federate for token validation
13
Ping Federate confirms that the token is valid
14
Gateway sends the request to the service
15
Service acting as resource server also asks Ping Federate for token validation
16
Ping Federate confirms that the token is valid
17
Service serves the request
18
a custom Power Query Connector, allowing Power BI clients to load data from ModelOp Center.
ModelOp Center contains a package with the Power BI Connector file. Please contact your ModelOp representative to get the latest version.
For BI Creators
These installation instructions assume the following:
Power BI Desktop is installed. https://powerbi.microsoft.com/en-us/desktop/
Your ModelOp Center instance is accessible from the machine on which Power BI Desktop is installed.
To enable use of the connector in Power BI Desktop:
The Power BI Connector has a mez or pqx file extension. Copy this file into
[Documents]/Power BI Desktop/Custom Connectors. You may need to create these directories if they do not already exist.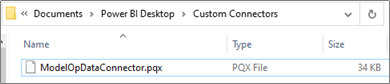
Check the option (Not Recommended) Allow any extension to load without validation or warning in Power BI Desktop (under File | Options and settings | Options | Security | Data Extensions).

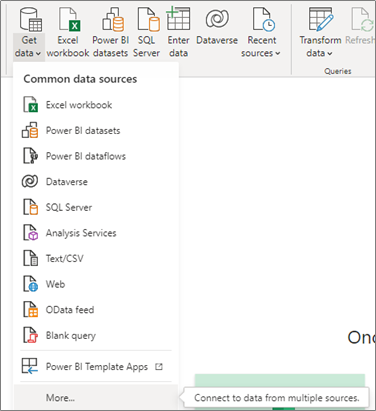
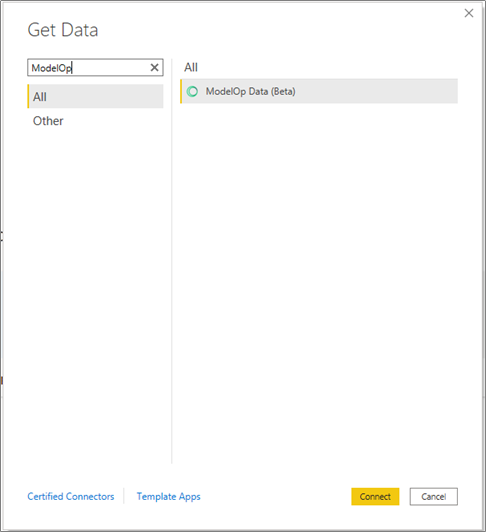
Restart Power BI Desktop. There should now be an option to use ModelOp Data as a data source (under Get Data | More | Other).
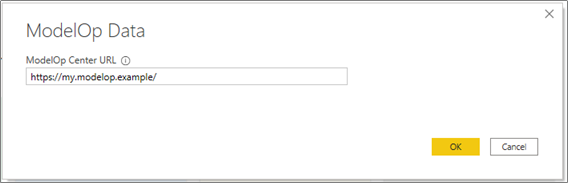
Upon selecting ModelOp Data, you will be prompted for the URL used to access your instance of ModelOp Center. This example assumes the ModelOp Center instance is accessible at https://my.modelop.example/.
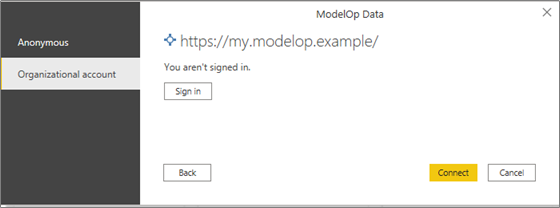
Clicking OK will open another prompt to select an authentication method. To access an OAuth2-protected instance, select Organizational Account | Sign In, then proceed to login using your ModelOp Center credentials.

Upon successful login, Power BI Desktop will securely store an access token on your local machine and associate it with the ModelOp Center instance.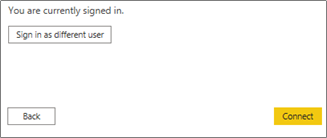
Click Connect to begin building reports in Power BI Desktop.
Usage
Importing Data
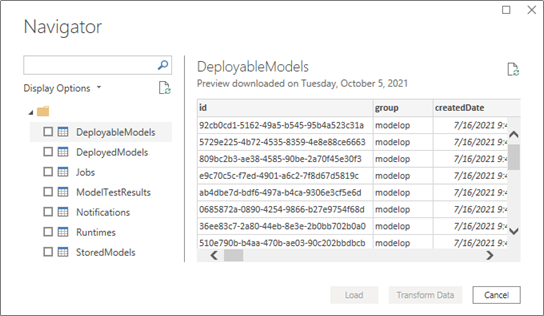
To begin authoring a report, select any tables required and click Load.
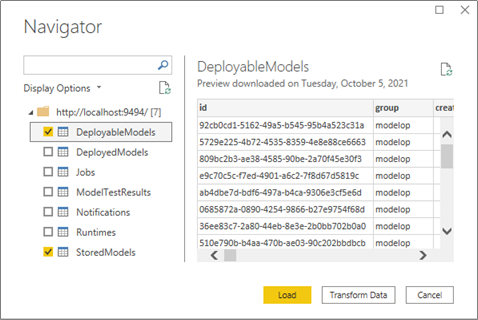
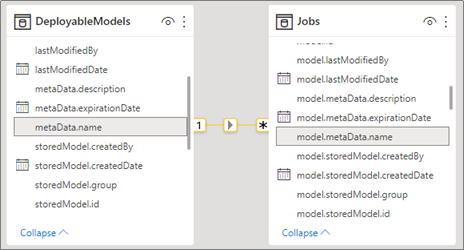
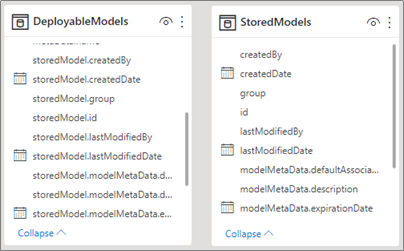
The ModelOp Data Connector uses the ModelOp Center REST API to expose structured data as tabular views. Table columns follow a naming convention that reflect the structure or hierarchy of each resource.
For an optimal experience, avoid importing tables that are unnecessary for a particular report.
In scenarios where a report depends on many tables, Power BI Desktop may erroneously detect relationships where they should not exist. Be sure to double check which relationships are detected and/or missing when working with many tables in a single report.